Hey there, gardening enthusiast! Are you ready to add a burst of vibrant color to your garden? Look no further than the charming ranunculus bulbs. These beauties can turn your outdoor space into a riot of colors and fragrance. In this guide, we’ll take you through the step-by-step process of how to plant ranunculus bulbs to ensure your gardening journey is nothing short of blooming success.
Choosing the Right Ranunculus Bulbs
When it comes to selecting ranunculus bulbs, you’re spoiled for choice. Keep an eye out for bulbs that are plump and firm to the touch. Avoid any that are soft or moldy, as they might not yield the desired results.
Selecting the Perfect Planting Spot
Ranunculus bulbs are sun lovers, so choose a spot in your garden that receives at least 6 to 8 hours of sunlight daily. Well-draining soil is also essential to prevent waterlogged roots. Explore do sunflowers grow back after cutting.
Preparing the Soil with Love
Gardening is all about nurturing, and the soil preparation stage is where it all begins. Mix in some well-rotted compost to enrich the soil and improve drainage. This will provide a nutritious foundation for your ranunculus to thrive.
Planting the Ranunculus Bulbs
Now comes the exciting part – planting your ranunculus bulbs! Dig holes that are about 2 to 3 inches deep and place the bulbs with the “claw” side facing downwards. Space them around 4 to 6 inches apart to allow room for growth.
Caring for Your Ranunculus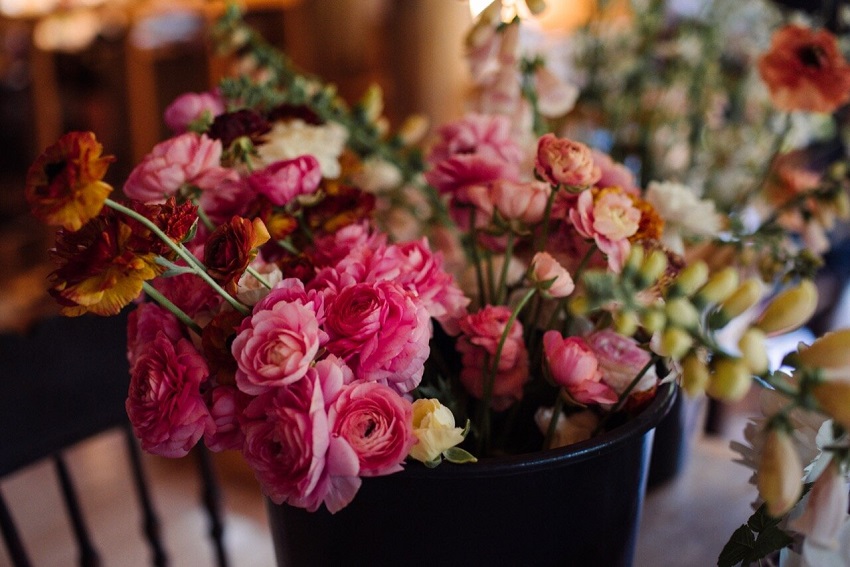
Your ranunculus bulbs have been planted with care, and now it’s time to provide them with the attention they deserve. Regularly check for any signs of pests or diseases, and remove any weeds that might compete for nutrients.
Watering Wisely for Optimal Growth
Watering is a critical aspect of nurturing your ranunculus. Keep the soil consistently moist but not waterlogged. Aim to water in the early morning or late afternoon to reduce evaporation and give your plants the hydration they need.
You may like to read: What is a Hardy Succulent with Yellow Flowers?
Dealing with Potential Pests and Issues
No garden is immune to pests and challenges. Keep an eye out for aphids, snails, and fungal infections. Consider using natural remedies like neem oil or introducing beneficial insects to keep these unwanted visitors at bay.
Enjoying the Blooming Beauty
Patience pays off as your ranunculus bulbs begin to send up their charming shoots. With proper care, you can expect to see those delightful blooms in a few weeks. As they burst forth in an array of colors, take a moment to revel in the beauty you’ve nurtured.
Conclusion
And there you have it – a colorful guide to planting ranunculus bulbs! From selecting the best bulbs to nurturing them through growth, you’re now equipped with the knowledge to create a blooming haven in your garden. So, roll up your sleeves, gather your gardening tools, and watch your outdoor space transform into a breathtaking oasis of ranunculus blossoms.
FAQs
How deep should I plant ranunculus bulbs?
Ranunculus bulbs should be planted about 2 to 3 inches deep in the soil.
Can I plant ranunculus bulbs in pots?
Absolutely! Ranunculus bulbs can thrive in pots as long as the pots provide proper drainage.
When is the best time to plant ranunculus bulbs?
The best time to plant ranunculus bulbs is in the fall, around September to October.
How often should I water my ranunculus?
Water your ranunculus regularly, keeping the soil consistently moist but not waterlogged.
Can I save ranunculus bulbs after they bloom?
Yes, you can! After blooming, allow the foliage to die back naturally, then dig up the bulbs, clean them, and store them in a cool, dry place until it’s time to plant again.